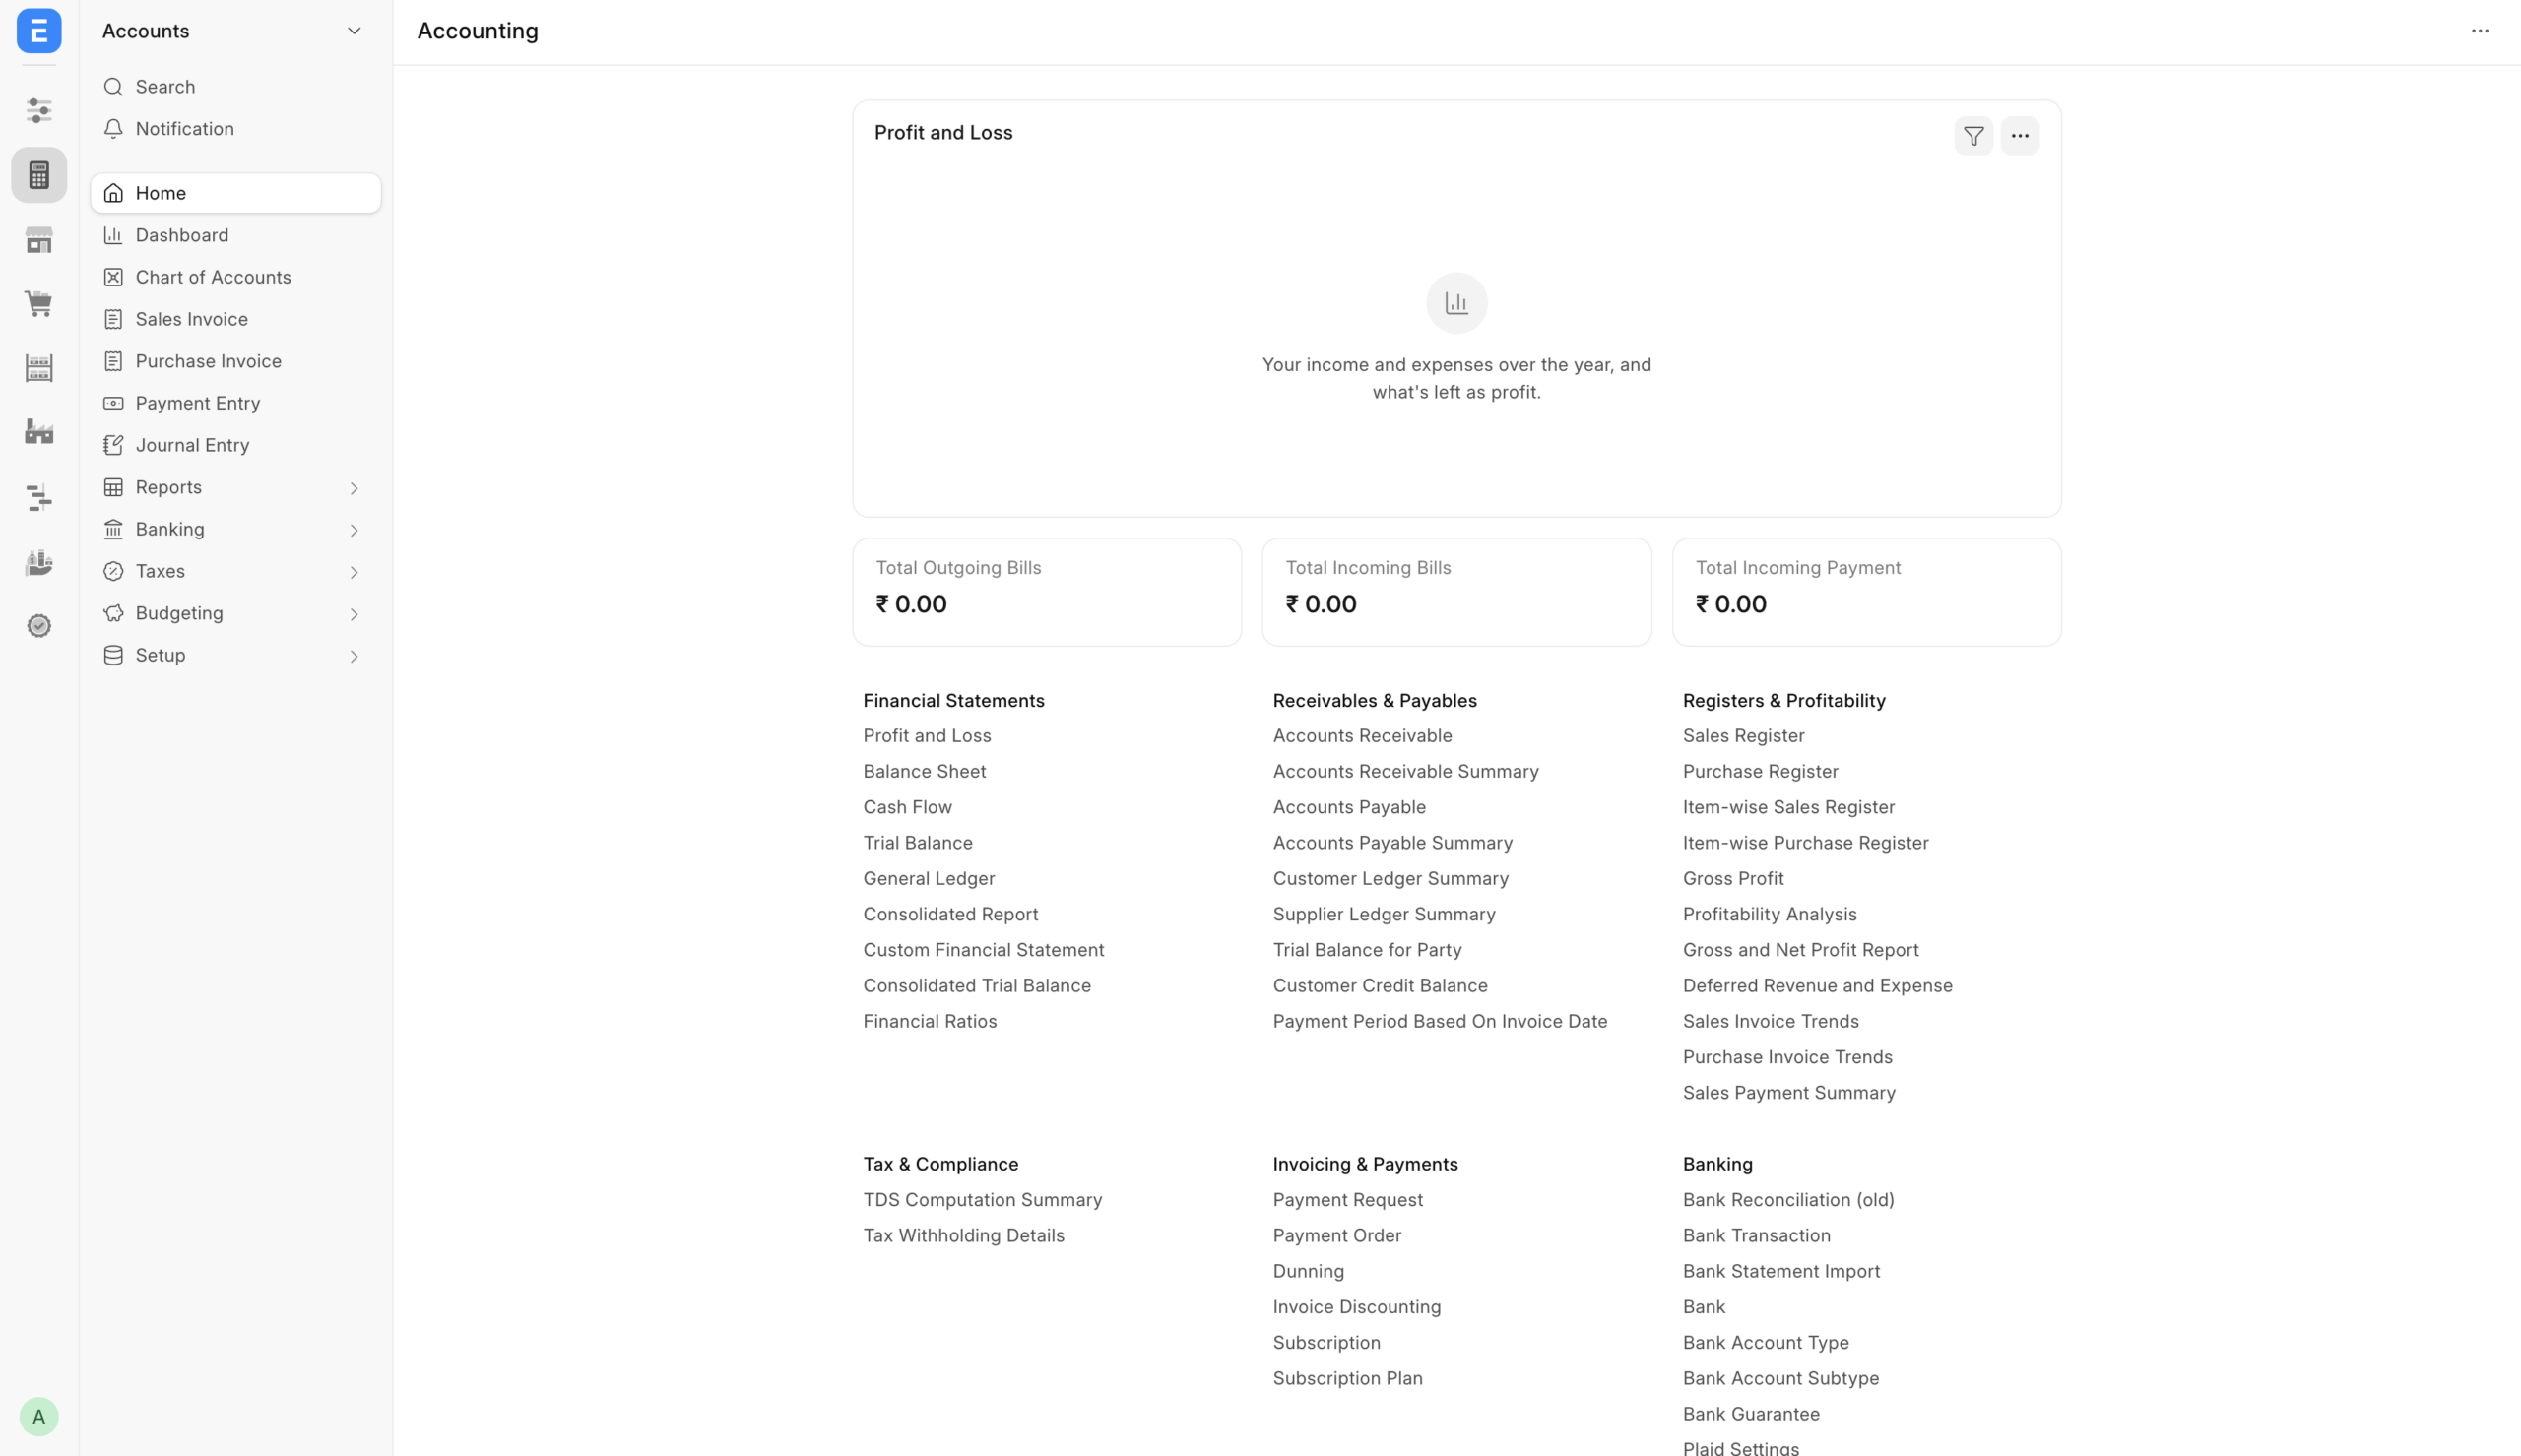
You can set up ERPNext yourself on your own server, and this guide walks through every stage: preparing the server, installing the software, running it in production, and implementing it in your business.
Because ERPNext is open source, there is no licence to buy. What you need is a Linux server, some comfort with the command line, and a clear plan for rolling it out to your team.
This guide suits an in-house IT person, a technical founder, or a small team that wants to learn the platform. It is also useful if you plan to hire a partner and want to understand what they are doing. The steps below follow the current Frappe documentation, so check it for any version changes before you start.
Before you start
You need a clean Linux server, a domain name and the right software versions. The Frappe documentation recommends Debian 13+ or Ubuntu 24.04+, as older releases can have package problems.
Have these ready:
- A server: A cloud VPS or an in-office machine with a public or static IP. Start with at least 4 GB of RAM and plenty of disk space, and size up for more users.
- A domain name: A name such as erp.yourcompany.com, pointed at the server’s IP address, so you can enable HTTPS.
- SSH access: A user with sudo rights.
- A plan for backups: Decide now where backups will be stored, preferably off the server.
The software versions depend on which Frappe and ERPNext version you install:
| Software | Version 14 and 15 | Version 16 |
|---|---|---|
| MariaDB | 10.6.6 or higher | 11.8 |
| Python | 3.10 or higher | 3.14 |
| Node.js | 18 or higher | 24 |
| Redis | 6 | 6 or higher |
| Yarn | 1.12 or higher | 1.22 or higher |
| wkhtmltopdf | Required | Required (from version 17, PDFs use Chromium instead) |
This guide uses the version 16 values. If you choose version 15, use the left column and the matching branch name.
Step 1: Prepare the server
Start by updating the server, creating a dedicated user and locking down access. Log in over SSH as a user with sudo rights and run:
sudo apt update && sudo apt upgrade -yCreate a separate user to run ERPNext, so the application never runs as root. Here the user is called frappe:
sudo adduser frappe
sudo usermod -aG sudo frappe
su - frappe
Then turn on the firewall, allowing only SSH and web traffic:
sudo ufw allow OpenSSH
sudo ufw allow 80/tcp
sudo ufw allow 443/tcp
sudo ufw enable
Finally, point your domain to the server. Create an A record for erp.yourcompany.com that points to the server’s IP address. DNS can take from a few minutes to a few hours to spread, and you need it working before the HTTPS step.
Step 2: Install the prerequisites
Install the database, Redis, Node, Python and the supporting tools as the frappe user. First, the system packages:
sudo apt install -y git redis-server libmariadb-dev mariadb-server mariadb-client pkg-config xvfb libfontconfig
sudo mariadb-secure-installation
The second command asks you to set a database root password and remove insecure defaults. Answer the prompts and keep the password safe.
Next, install Node.js and Yarn. The version 16 documentation uses Node 24:
curl -o- https://raw.githubusercontent.com/nvm-sh/nvm/v0.40.3/install.sh | bash
source ~/.bashrc
nvm install 24
npm install -g yarn
Then install Python through uv, the tool the current documentation recommends. Version 16 uses Python 3.14:
curl -LsSf https://astral.sh/uv/install.sh | sh
source ~/.bashrc
uv python install 3.14 --default
Finally, version 16 and older need wkhtmltopdf for PDF printing. Download the package for your Ubuntu version from wkhtmltopdf.org/downloads.html, then install it:
sudo dpkg -i wkhtmltox_file.debCheck your versions with node -v, python --version and mariadb --version before moving on. A wrong version here is the most common cause of a failed install.
One more MariaDB step: ERPNext needs the UTF8MB4 character set. Add the settings from the Frappe documentation to your MariaDB configuration file and restart the database with sudo systemctl restart mariadb.
Step 3: Install Bench and create your bench
Bench is the command-line tool that manages Frappe, ERPNext, sites and updates. Install it and check that it works:
uv tool install frappe-bench
bench --version
A “bench” is a folder that holds the Frappe framework, your apps and your sites. Create one with the Frappe version you chose:
mkdir ~/frappe && cd ~/frappe
bench init --frappe-branch version-16 frappe-bench
cd frappe-bench
The version-16 branch name is the stable branch for version 16. If you chose version 15, use version-15 and the Python and Node versions from the table above. Check the ERPNext releases page for the branch that is current when you install.
This step downloads and builds a lot, so it can take 10 to 20 minutes. If it stops with an error, read the last lines. It is almost always a missing package or a wrong Node or Python version.
Step 4: Create the site and install ERPNext
Download the ERPNext app into your bench, using the same branch as Frappe:
bench get-app --branch version-16 erpnextThen create your site. Name it after your domain, so the web server can route requests to it later:
bench new-site erp.yourcompany.comBench asks for the MariaDB root password you set earlier, and for an Administrator password for the site. Keep both safe.
Install ERPNext on the site:
bench --site erp.yourcompany.com install-app erpnextTo test it before going to production, start the development server and open http://your-server-ip:8000:
bench startIf you see the login page and can sign in as Administrator, the install works. Stop the development server with Ctrl+C. bench start is meant for development only, so do not leave it running for your team.
Step 5: Set up production with Supervisor, Nginx and HTTPS
Production needs a process manager and a web server, so ERPNext keeps running after you log out and restarts on its own. Bench automates this with one command, which installs and configures Supervisor and Nginx:
sudo bench setup production frappeHere frappe is the Linux user that runs the bench. If Nginx fails to start, another default site is probably using port 80. Disable that default configuration, which is usually in /etc/nginx/conf.d/ or /etc/nginx/sites-available/default, and restart Nginx.
Next, allow Bench to restart services when you update apps:
sudo bench setup sudoers $(whoami)Then enable HTTPS with a free Let’s Encrypt certificate. Your domain must already point to the server:
sudo -H bench setup lets-encrypt erp.yourcompany.comBench adds a monthly renewal job automatically. You can also renew by hand with sudo bench renew-lets-encrypt.
Finally, confirm that the background scheduler is on, because ERPNext needs it for emails, reminders and scheduled reports:
bench --site erp.yourcompany.com enable-scheduler
bench --site erp.yourcompany.com set-maintenance-mode off
Open https://erp.yourcompany.com in your browser. You should see the login page with a padlock.
One caution: the Frappe documentation recommends Docker-based deployment for production over a manual install. A manual setup works well for a single company, but if you will run several sites or want easier upgrades, look at the Docker route or a managed host such as Frappe Cloud.
Step 6: Implement ERPNext in your business
A working server is only the start. Implementation means configuring ERPNext to match how your business runs, and this is where most of the effort goes.
- Run the setup wizard. On first login, enter your company name, country, currency, financial year and industry. Choose a chart of accounts that matches your country.
- Set up your company details. Add the address, tax registration numbers, logo and bank accounts, and set your tax templates, such as GST for India.
- Create your master data. Add item groups and items, customer and supplier groups, warehouses, price lists, and units of measure. Use clear, consistent names, since these records are used everywhere.
- Create users and roles. Add each person as a user, assign roles, and use role permissions to limit what each person can see and change. Give people only the access they need.
- Configure the core workflows. Set up numbering series, print formats, email accounts and approval workflows for the documents you use most, such as quotations, sales orders and purchase orders.
- Start with core modules. Go live with selling, buying, stock and accounting first. Add manufacturing, HR and projects after the team is comfortable.
- Test with real scenarios. Run a full cycle on a test copy, from quotation to invoice to payment, and from purchase to stock to supplier bill. Check that the stock and account entries come out right.
Keep a written record of every setting you choose and why. It saves hours when someone asks later why a report looks the way it does.
Step 7: Migrate data, train your team and go live
Go live only after your data is clean, your team is trained and a test cycle has passed. Rushing this step is what makes teams drift back to spreadsheets.
Migrate your data. ERPNext has a Data Import tool that loads records from CSV or Excel files. Import in this order, because later records depend on earlier ones:
- Customers, suppliers and addresses
- Items and item prices
- Opening stock, per warehouse
- Opening balances for accounts, and outstanding sales and purchase invoices
Clean each file first. Remove duplicates, fix item codes and check that stock and account totals match your old records. Import a small sample before the full file.
Train your team. Give each department hands-on training for its own daily work, using your real data in a test copy. Name one person per team who can answer questions, and keep a short how-to note for each common task.
Choose a go-live date. Pick the start of a month or financial period, so opening balances are simple. Freeze entries in the old system, load the final balances, and ask everyone to enter new transactions in ERPNext only.
Support the first month. Expect questions and small fixes. Review reports weekly, collect feedback, and fix what slows people down.
After go-live: backups, updates and security
A live ERP needs regular care, and backups come first. Bench can back up a site, including its files, with one command:
bench --site erp.yourcompany.com backup --with-filesBackups are stored on the same server by default, so copy them somewhere else too, such as cloud storage or another machine. Test a restore at least once, because a backup you have never restored is only a hope.
To update ERPNext, take a backup, then run the update from the bench folder:
bench updateRead the release notes first, and try major updates on a test copy before touching production.
Keep security basics in place:
- Strong passwords and limited roles: Disable accounts of people who leave.
- Server updates: Apply operating system security updates regularly.
- Firewall and SSH: Keep only the ports you need open, and use SSH keys instead of passwords.
- Monitoring: Watch disk space, memory and the Supervisor processes, since a full disk is a common cause of outages.
When to bring in a partner
Doing it yourself is a good way to learn ERPNext and keep costs low, but some projects are better shared with an expert. Consider help when you have several branches, manufacturing or industry-specific processes, complex taxes, heavy customisation or integrations, or a tight go-live date.
A common middle path works well: do the server setup yourself, and bring in a partner for process mapping, configuration, data migration and training, where experience saves the most rework.
If you want a second pair of eyes at any step, Khatavahi BI Solutions helps businesses with ERPNext setup, implementation and support. Write to us at jigar@khatavahi.in.